
The sprayfoamers were booked for 8-30 on 1 May and they turned up at 8-25 which was a good start. To get the hoses to reach from the van to the boat the van had to be reversed into the end door of the shed which was a bundle of fun as the van had to be reversed and turned 90 degrees on a narrow road to enter the shed with about 2 inches of clearance either side. This took a few attempts by the (sweating) driver whilst his mate (amongst others) shouted instructions and encouragement, banged on the van and placated the queue of school traffic (ho ho).
After a quick reccy, some masking up, the hoses were coupled up and pumping equipment energised.
The photo above shows the operator in breathing gear applying the foam.
Whilst this was going on Dave and myself were modifying and drilling the door hinges.

After the excess foam and masking tape had been removed (see bottom photo), the apertures were cut out to reveal the thickness of foam on the hull. Below are photos of a porthole and roof prism cut-out respectively.


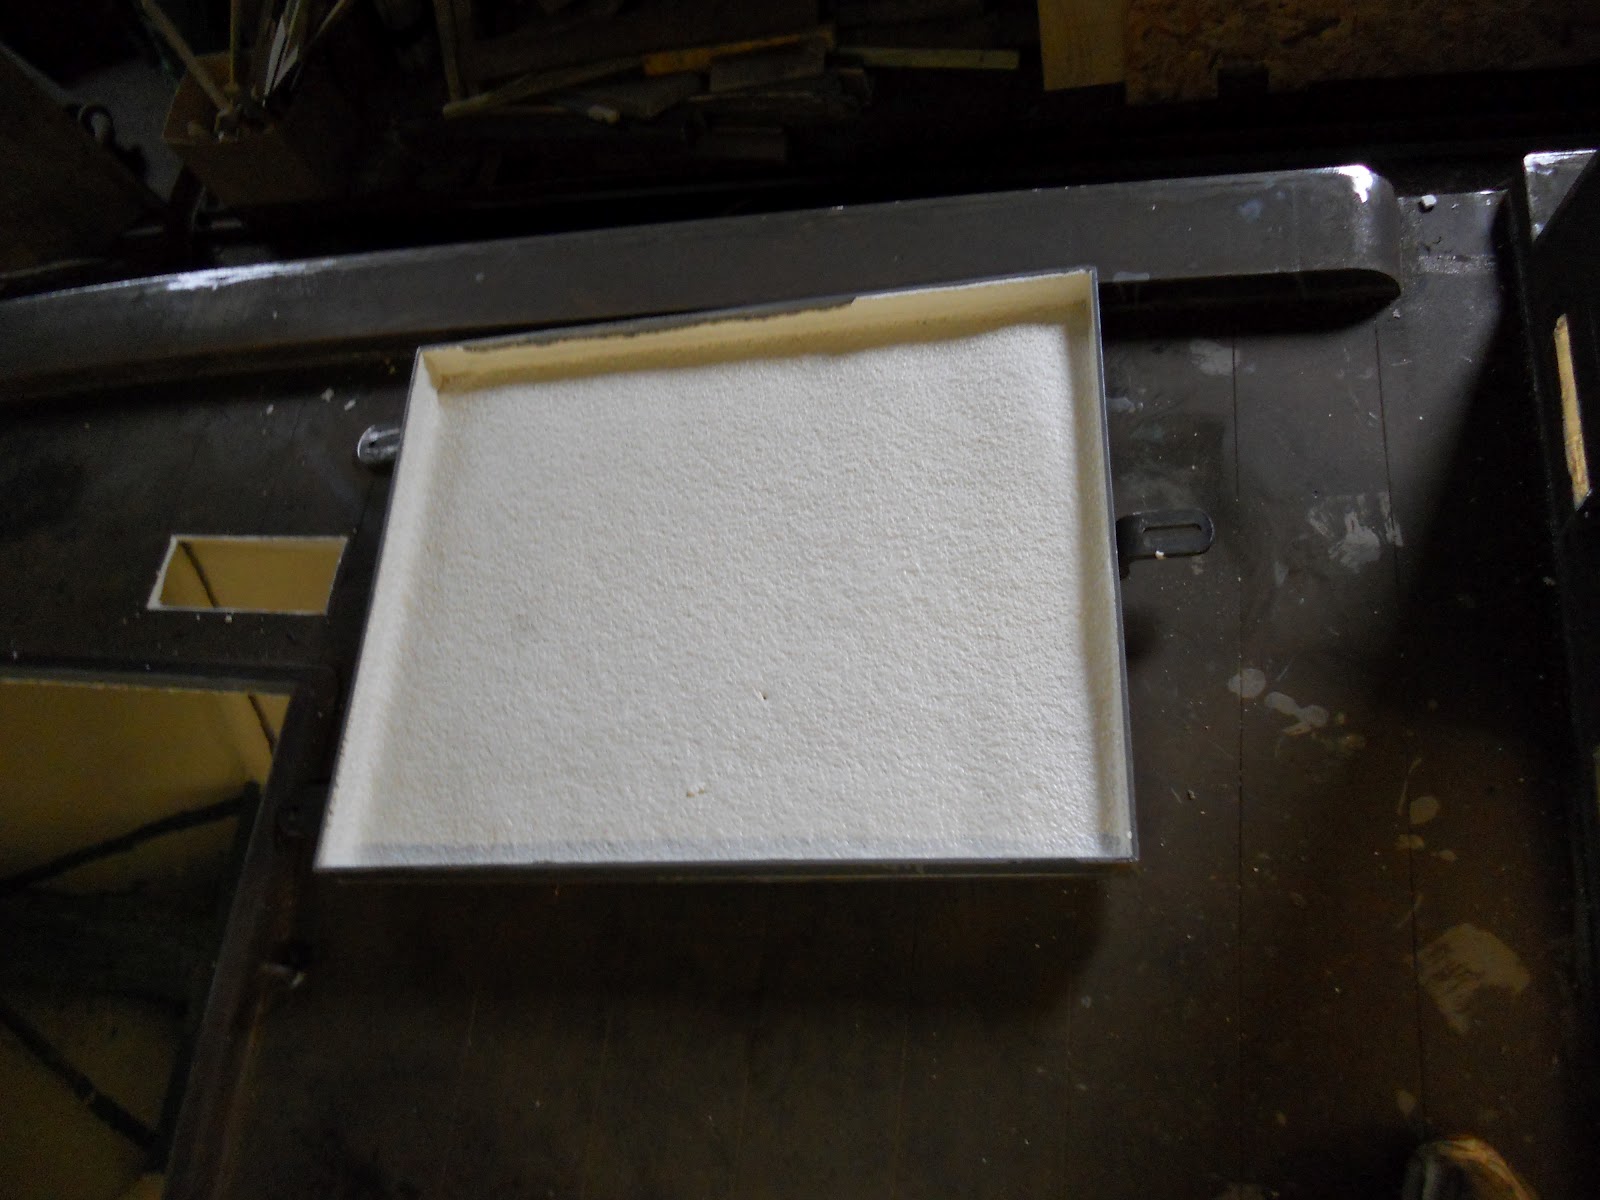

To reduce condensation on it's cold surface and act as a noise barrier the water tank was also insulated. Here it is lying on it's back in the cabin.
At the time this photo was taken, the masking and excess foam has been cut from the battens etc. and can be seen on the floor along with the overspray.
I have not seen a sprayfoam job before but Dave thought it was well executed and he's seen a few.
Inevitably some overspray ended up on the floor so I spent the evening and early next morning cleaning up the debris missed in the post job clean up by cosyhomes and made sure all scuppers were cleaned of debris. I also scraped along the sides and rear edge of each bilge compartment to ensure the free rearward flow of any water which could end up in the bilges in future. Particular attention was paid to the rearmost bilge compartments (ie in the engine room against the fuel tank and the stern) where water would collect and be pumped or sponged out from to ensure they had smooth clean surfaces. After this another coat of paint was added to cover any scraper scratches.
A link to the cosyhomes website is below:
http://www.cosyhomeuk.co.uk/
PS The van went out of the shed much more easily than it went in.
Nice information presented in the post, thanks for sharing such a great post...Spray Foam Insulation
ReplyDeletevery interesting keep posting. attic insulation removal and replacement
ReplyDeleteThis is a great post. I like this topic. This site has lots of advantage. I found many interesting things from this site. It helps me in many ways. Thanks for posting this again. Fireproof Spray Foam Insulation
ReplyDeleteI know no article is perfect, but yours is as close as it gets.Interesting informational articles like this are rare. This material is informational without being boring and intimidating. Thanks for posting this again. Fireproof spray foam insulation in toronto
ReplyDelete