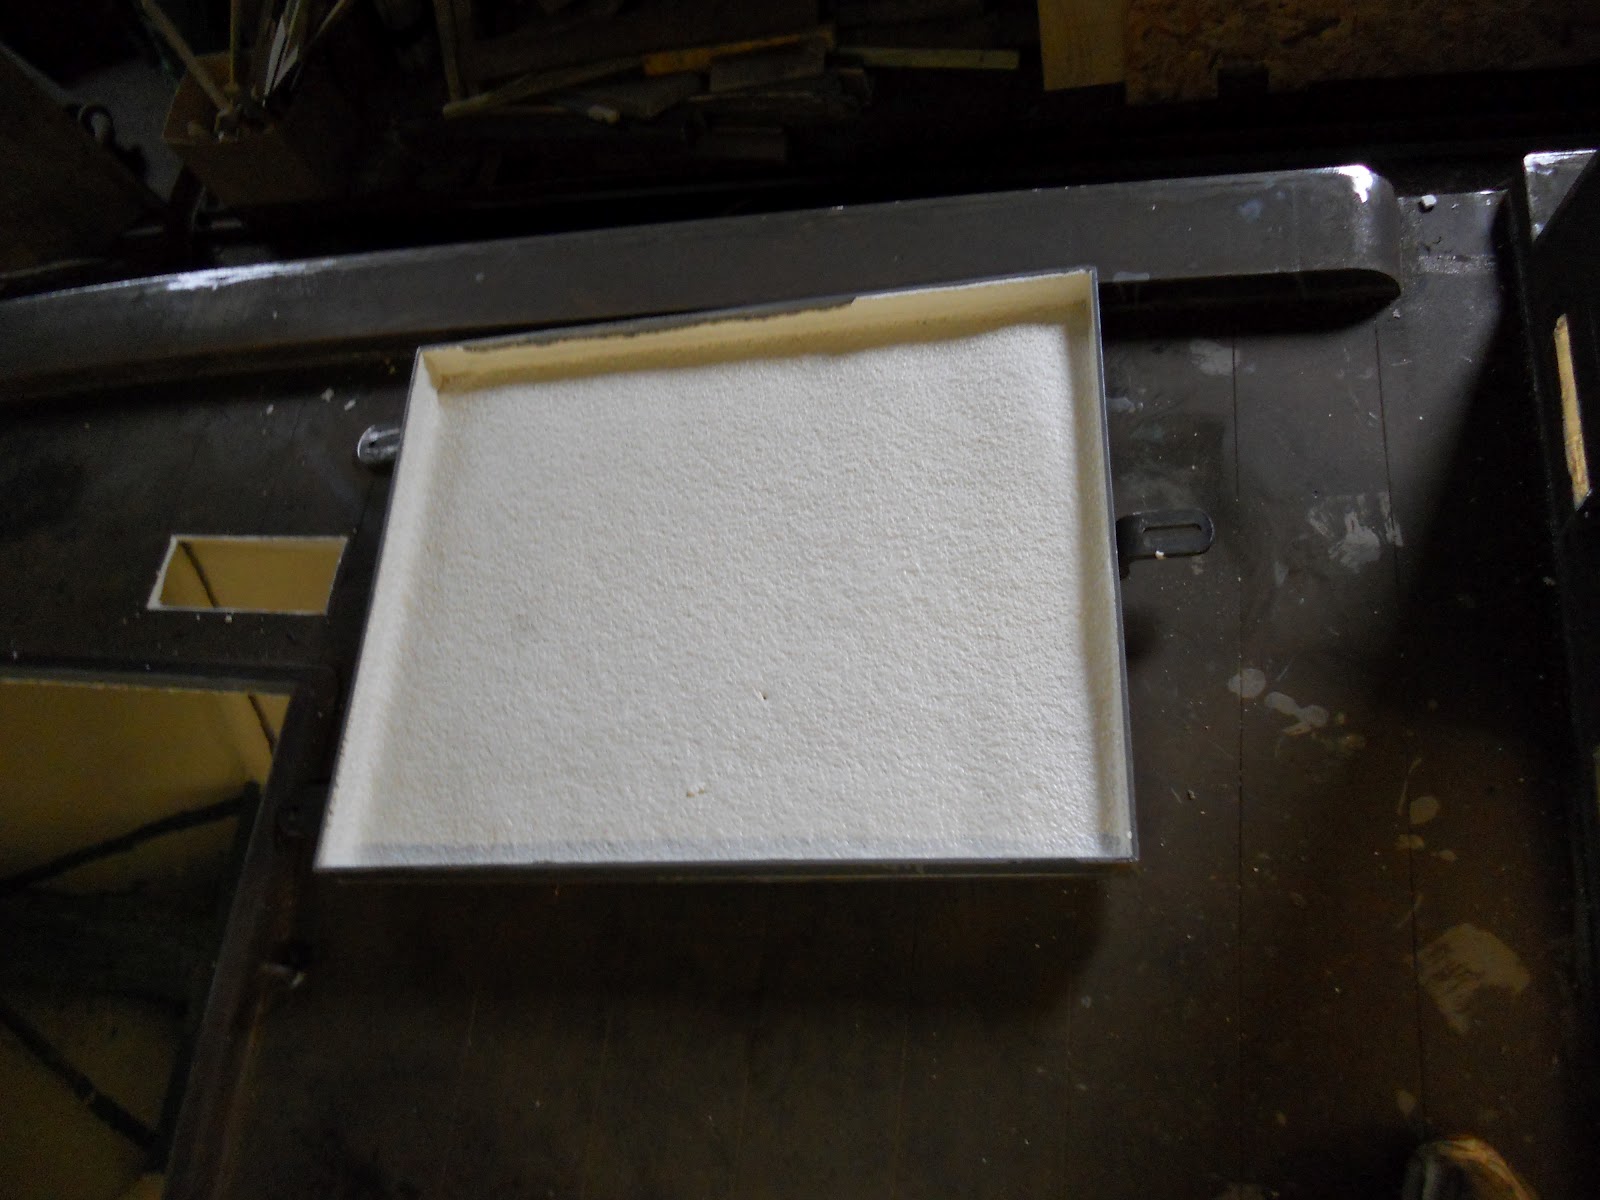
The bilges under the floor at the bow have small dimensions but require maximum ballasting. This has been provided by packing the small four smallest foward compartments with steel offcuts as shown. The offcuts are not expected to get wet as they are forward and higher than any inlets but have been Waxoyled.
The pink painted plywood sheet will carry the water tank.
Saturday, 12 May 2012
SpongeBob squaretank
As mentioned in an earlier post a diesel tank to supply the Kabola central heating boiler will be installed under the back cabin side bed in the space against the tapering hull side (the swim). Dave has fabricated a tank shaped to fit as shown above.
I think it has amusingly turned out looking like an animal with it's four legs and slightly surprised "face" with eyes and mouth (formed by the fill, breather and delivery tappings respectively) on the narrow end. I have therefore decided to call him Bob the Tank.
Here is Bob viewed from above more or less where he will be sited but yet to be painted.
Edit added on 28 May.
Here is Bob resplendent in his coat of gloss paint.
The colour is grass green - like his friend battery box.
Sunday, 6 May 2012
Summary of week to 4th May
The boat has been transformed this week by addition of the foam insulation and floor. Suddenly it is much lighter and warmer inside.
On Monday the wiring loom was delivered and on Wednesday the plywood, ordered on Tuesday, for the line out was delivered on time.
The 19mm WBP exterior ply for the floor is very good. It is so hard it needs much more pilot drilling and countersinking for the screws than expected but on balance that is a price worth paying.
Two of the sheets have such a pleasant grain that they will be used under the tug deck without the oak floor planking. This will save a few quid ( I am from Yorkshire ) and give marginally more headroom.
Laying the floor means one can actually walk about without the risk of tripping over knees. - Luxury.
On Monday the wiring loom was delivered and on Wednesday the plywood, ordered on Tuesday, for the line out was delivered on time.
The 19mm WBP exterior ply for the floor is very good. It is so hard it needs much more pilot drilling and countersinking for the screws than expected but on balance that is a price worth paying.
Two of the sheets have such a pleasant grain that they will be used under the tug deck without the oak floor planking. This will save a few quid ( I am from Yorkshire ) and give marginally more headroom.
Laying the floor means one can actually walk about without the risk of tripping over knees. - Luxury.
Saturday, 5 May 2012
Water tank support
The water tank will be fitted at the front under the tug deck immediately behind the gas locker. Here Dave has added extra steel to support the tank on it's wooden base (bottom photo).
The grey primer has been applied here to the new steel and scratched areas of the keelson and floor.
Ballast, sub floor and stove hearth installation
The first job after sprayfoaming and before laying the floor was to position the cabin stove and install the steel hearth base. Here is the squirrel stove on it's base made of 1/2" baseplate offcut. The stern end reached a convenient knee and the fore end can be seen supported on a steel angle welded in to fit. A tab at the hearth front was added to support the sub floor as was the plate to the stern end beyond the knee.
Ballast in the form of conveniently sized drive paving bricks was packed below the hearth. Being very cost aware, Dave had "rescued" these from a waste skip.
Here the back cabin side floor sections have been added. Below these the fuel tank has been insulated. The foam on the back face can just be seen after cutting back.
The busy scene on the photo below shows the various stages of ballasting:
1 Cleaned thoroughly with a vacuum cleaner to ensure no remaining debris.
Scuppers cleaned and edges/scratches given another coat of paint.
2 Roofing felt fitted to within 1" of the edge of each compartment is laid. This protects the baseplate against scratching and eventually "melts" to fix the ballast in place. The bare edge allows contingent water movement.
3 Ballast in the form of paving slabs is laid to as closely as possible, but with the edges clear, fill the compartment.
In this case the long thin rear slab was found to be bevelled so this was laid along the bottom rear edge.
Following ballasting the sub floor is installed.
The sub floor is 19mm hardwood ply shaped to fit around each knee and fastened to the base knees with self tapping screws about 8 to 10 inches apart. Where possible joints were made on the knees which are 8 feet apart. Where a joint did not occur over a knee (ie longitudonally or where a pipe crossing was built) a bridging piece was added to ensure stabilty and level.
Even though an oak planked floor will be laid above it in most places each section was carefully checked for level to it's neighbour to ensure no ridges.
The hearth steel support has now been painted but the hearth itself has been left to give the tile cement best chance to stick.
Sprayfoam insulation
The sprayfoamers were booked for 8-30 on 1 May and they turned up at 8-25 which was a good start. To get the hoses to reach from the van to the boat the van had to be reversed into the end door of the shed which was a bundle of fun as the van had to be reversed and turned 90 degrees on a narrow road to enter the shed with about 2 inches of clearance either side. This took a few attempts by the (sweating) driver whilst his mate (amongst others) shouted instructions and encouragement, banged on the van and placated the queue of school traffic (ho ho).
After a quick reccy, some masking up, the hoses were coupled up and pumping equipment energised.
The photo above shows the operator in breathing gear applying the foam.
Whilst this was going on Dave and myself were modifying and drilling the door hinges.
For the record. This is the insulation used. The insulation is fire rated to BS 476 part 7.After the excess foam and masking tape had been removed (see bottom photo), the apertures were cut out to reveal the thickness of foam on the hull. Below are photos of a porthole and roof prism cut-out respectively.
To reduce condensation on it's cold surface and act as a noise barrier the water tank was also insulated. Here it is lying on it's back in the cabin.
At the time this photo was taken, the masking and excess foam has been cut from the battens etc. and can be seen on the floor along with the overspray.
I have not seen a sprayfoam job before but Dave thought it was well executed and he's seen a few.
Inevitably some overspray ended up on the floor so I spent the evening and early next morning cleaning up the debris missed in the post job clean up by cosyhomes and made sure all scuppers were cleaned of debris. I also scraped along the sides and rear edge of each bilge compartment to ensure the free rearward flow of any water which could end up in the bilges in future. Particular attention was paid to the rearmost bilge compartments (ie in the engine room against the fuel tank and the stern) where water would collect and be pumped or sponged out from to ensure they had smooth clean surfaces. After this another coat of paint was added to cover any scraper scratches.
A link to the cosyhomes website is below:
http://www.cosyhomeuk.co.uk/
PS The van went out of the shed much more easily than it went in.
Subscribe to:
Posts (Atom)